
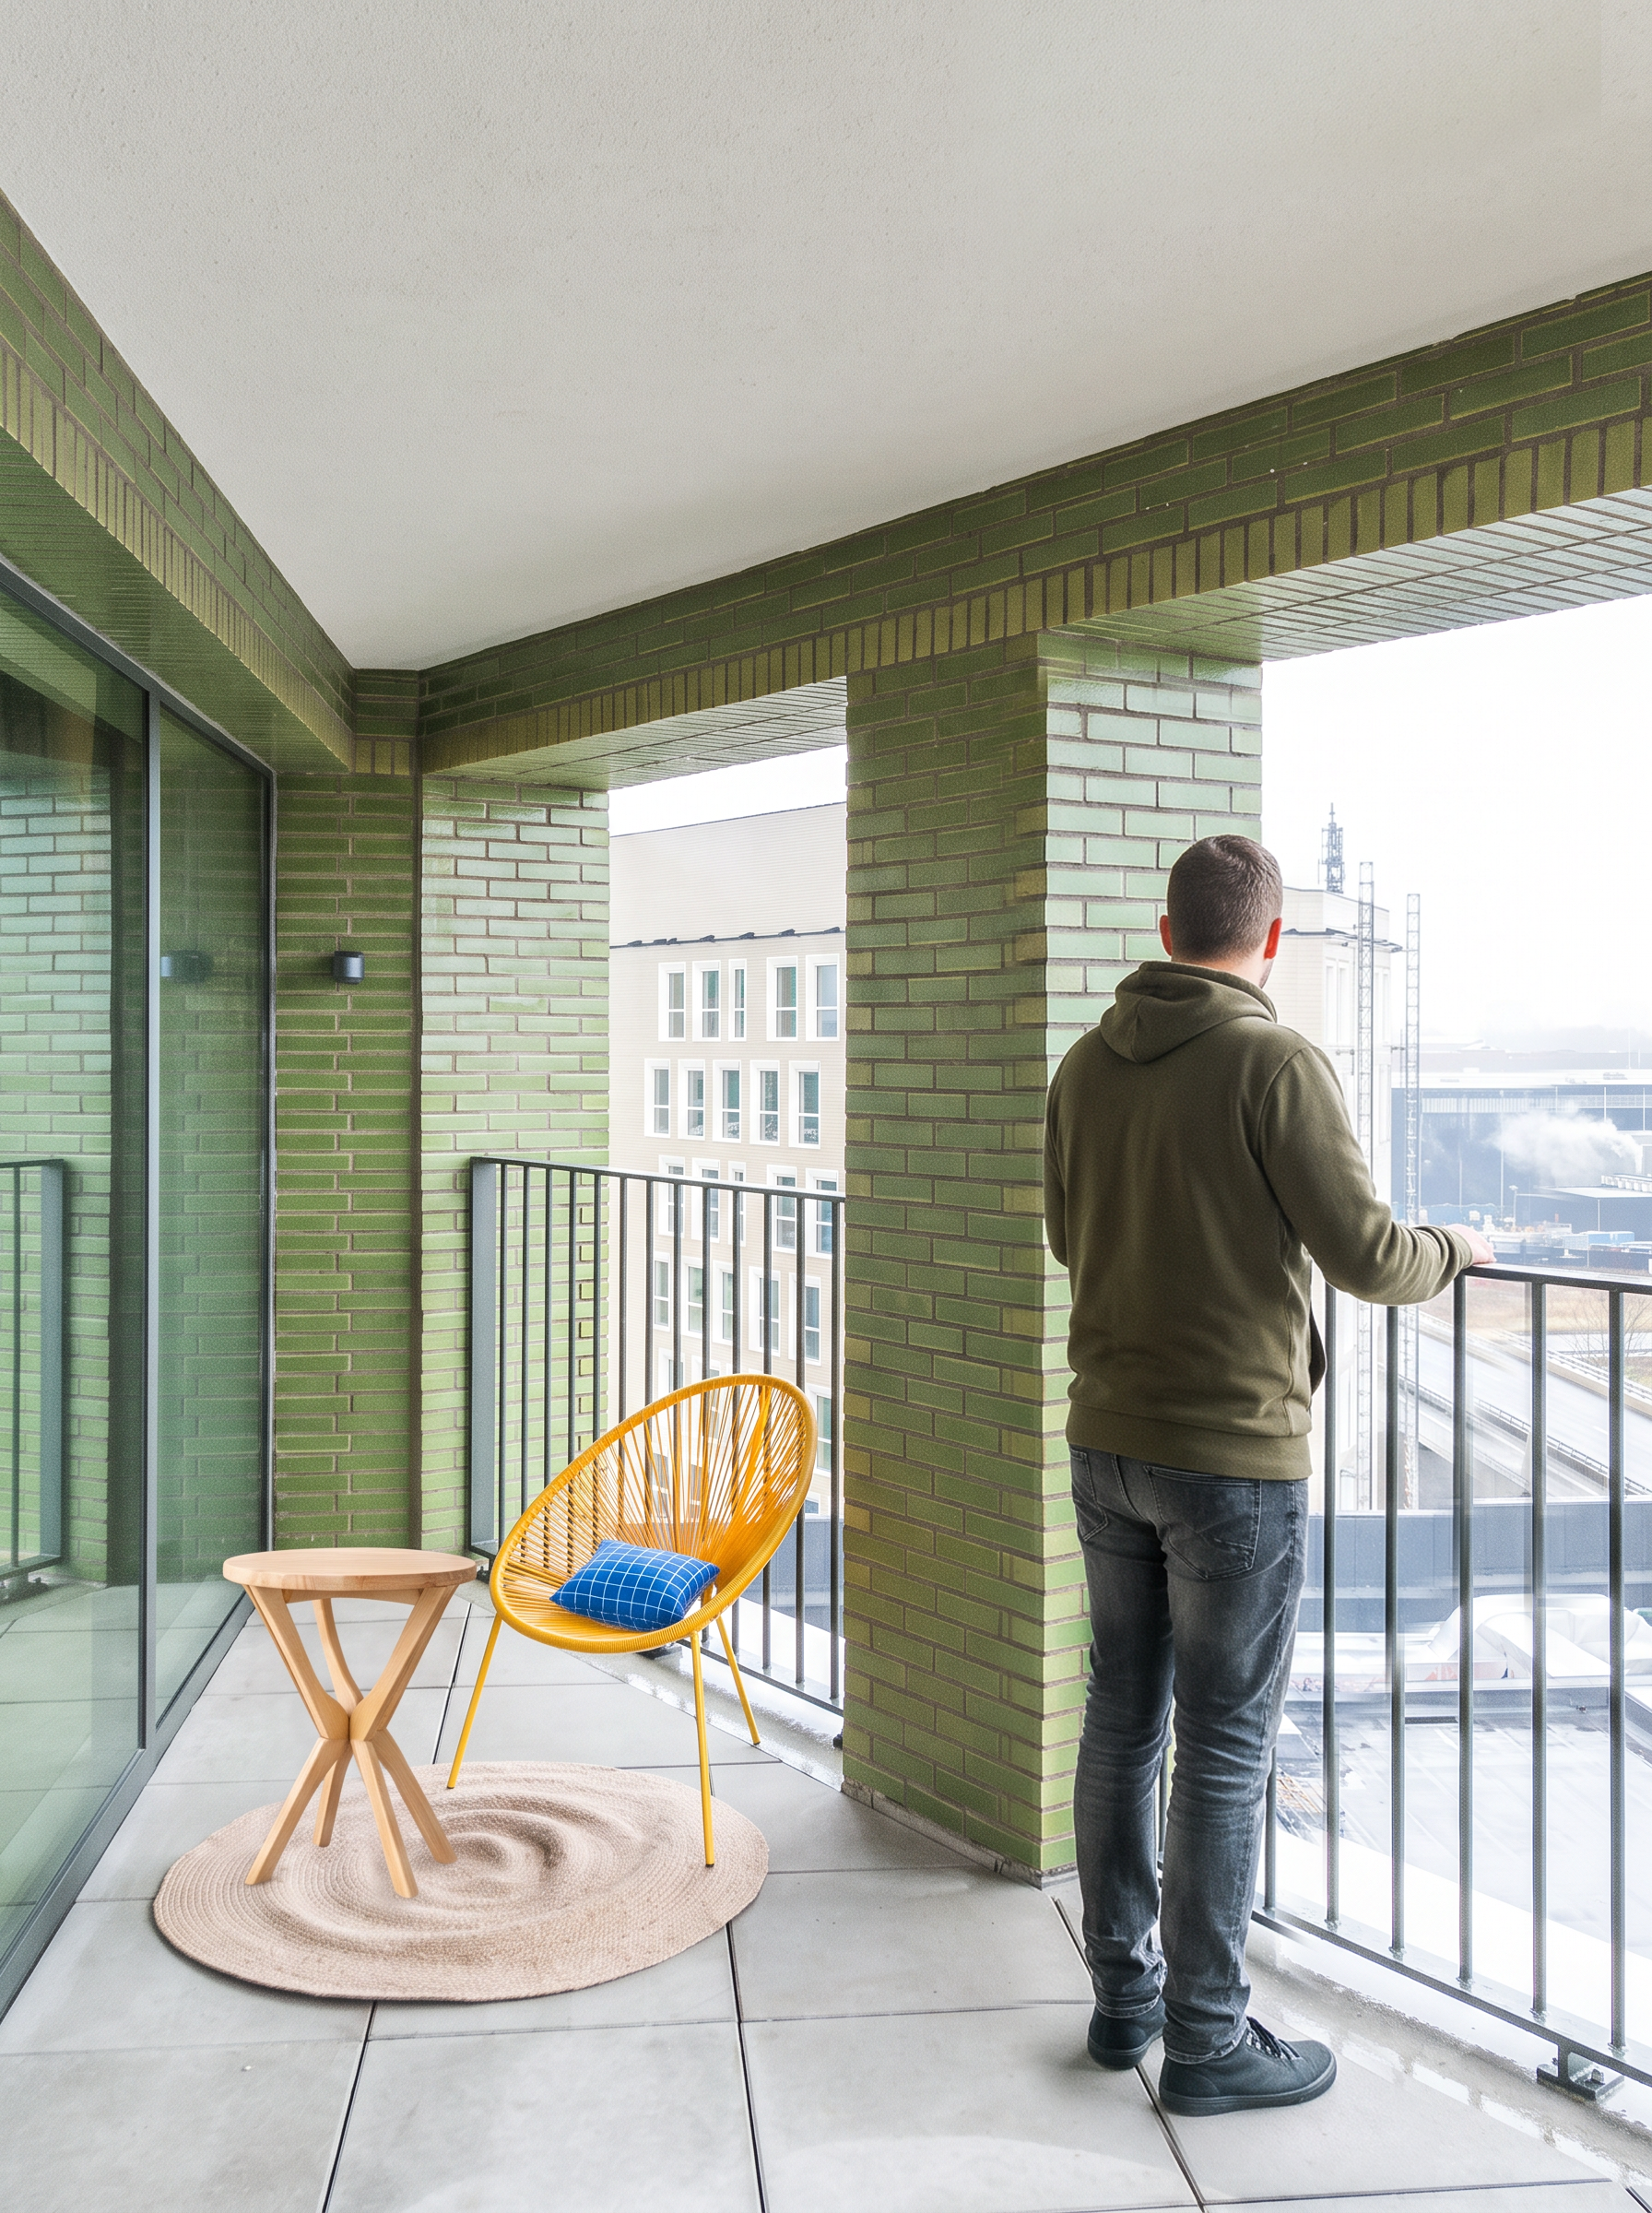
Those wooden hangers in the back of your closet? They’re about to become your new favorite piece of furniture. All you need is a drill, some glue, and a free afternoon. Here’s how to turn a few old hangers into a side table, a nightstand, and a lamp. Get rid of the clutter and reduce your consumption at the same time. Isn’t that crazy?!

Wait! Before you start...
To get a nice, finished result, you’ll need the following items for all these DIY projects:
Basic tools: drill with a small drill bit, wood glue, short wood screws, sandpaper (medium and fine), pliers, measuring tape, pencil, clamps (optional, but handy).
Prepare each clothing hanger the same way: remove the metal hook with pliers, sand all edges smooth, and wipe away the dust
Alright, let’s get started!
1. The Side Table
What you’ll need: 4 identical wooden clothing hangers, 1 round wooden tabletop (about 30 to 35 cm), wood glue, screws.
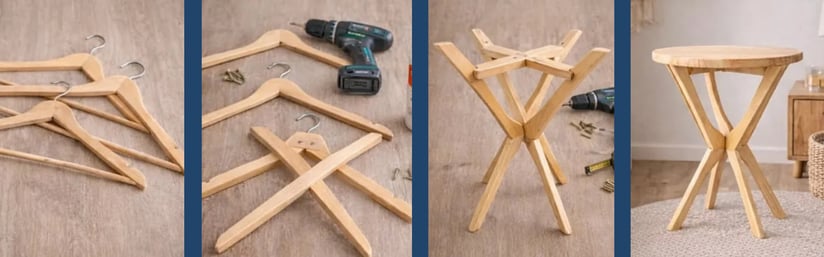
- Prepare the clothing hangers as described above and arrange them in pairs.
- Cross two hangers to form an X. Check that the angle is correct and mark the intersection with a pencil.
- Apply wood glue to the intersection, press the hangers together, and secure them with a screw. Pre-drill the hole first to prevent the wood from splitting.
- Repeat with the second pair so that you have two X-shaped frames.
- Slide the two frames together at a 90-degree angle to form a four-legged base. Glue and screw them together at the top.
- Center the round tabletop on the base, mark the screw positions, and secure it from below.
- Let the glue dry for a few hours before placing anything on it.
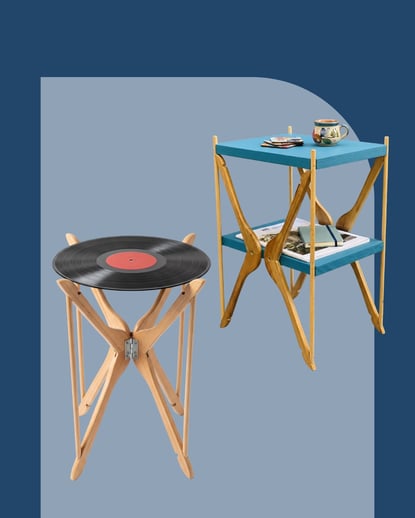
Be creative! Here are some other possible results:
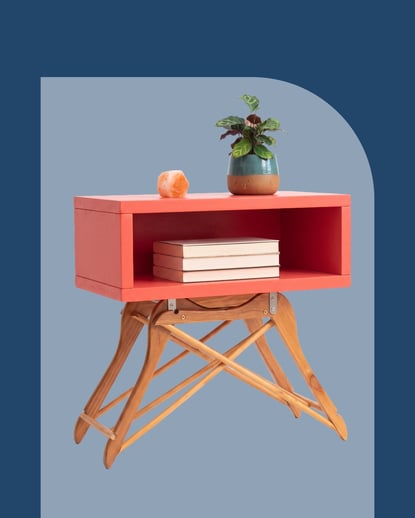
2. The nightstand “Hang on, is that a side table?”
What you’ll need: 2 wooden clothing hangers, 1 small open wooden box or shelf, paint in a bold color, wood glue, screws, small metal brackets.
- Prepare the clothing hangers and cross them to form an X, gluing and screwing them together in the middle.
- Paint or oil the box and let it dry completely. A bright color looks great against the natural wood.
- Turn the box upside down and mark where the “legs” of the clothing hangers will go.
- Attach the clothing hanger frame to the bottom of the box using screws or small brackets. Make sure it stands upright on a flat surface.
- Turn it over, check that it’s stable, add a stack of books and a plant, and you’re done.
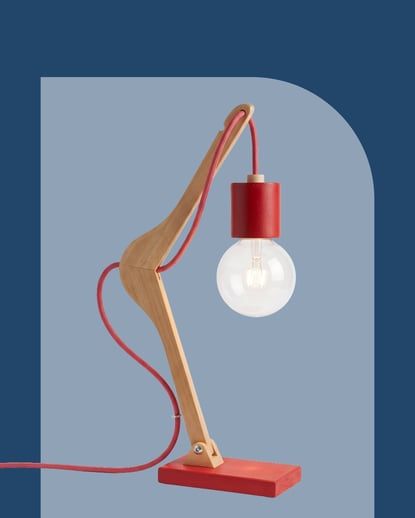
3. The “Hung Up on Light” Lamp
What you’ll need: 1 wooden clothing hanger, 1 wooden block as a base, a ready-made lamp cord with a socket (CE-certified), an LED bulb, paint, screws.
- Prepare the clothing hanger and use the shoulders as the lamp’s arms.
- Sand and paint the wooden block and the clothing hanger.
- Secure the clothing hanger upright on the base with a screw from the bottom, plus a little glue.
- Attach the light fixture to the end of the arm and route the cord along the clothing hanger. Small clips or tape will keep it neat.
- Screw in the LED bulb.
SAFETY FIRST: Alwaysuse a certified, ready-to-use lamp cord. Do not connect it to the mains yourself unless you know what you’re doing.
Here are a few more tips for the real pros ;)
- Finishing touches. Paint or oil everything at the end, unless you want your DIY table to end up as driftwood after just one rainstorm.
- Mix wood tones. Perfectly matching wood types are an option, of course, but for the boho look, it’s fun to mix and match.
- Secondhand. Ran out of hangers? No problem, head to the thrift store! Clothing hangers cost next to nothing there, and every hanger you save is one less on the landfill. Win-win.
Share your results and tag us on Instagram: @upliving.be. We’d love to see what you’ve turned your old hangers into!
Ready to strike out on your own as a young professional?
